The Acne Scar Treatment Process at Clarity — From Consult to Results
The acne scar treatment process at Clarity Clinic Ratchathewi — free 30-min consult, Trica3D Scan, all 5 procedures in one session, full aftercare and follow-up.
Quick answer: The Clarity process runs from a free 30-minute consult and Trica3D Scan, to all 5 procedures (Subcision, MNRF, ablative and non-ablative fractional laser, Picolaser) in one session, then aftercare and follow-up scans over 4–8 weeks per session. Most need 4–6 sessions for a ~60–80% improvement, priced at 5,000 baht per session — pay per session, no course packages.
Many people who decide to treat their acne scars at a clinic don’t actually know what each step is really like — from the first consult to seeing results.
In this article Dr. Big walks you through every step at Clarity Clinic in detail — from your first LINE message to the result 6 months after the first session — so you can decide with complete information.
Step 1: Free 30-minute consult
Via LINE (before your visit)
- Message LINE with photos of your acne scars — from several angles (front, side, oblique)
- Share a brief history — how long you’ve had them, where you’ve been treated before
- Dr. Big reviews it himself and replies within a day
At the clinic (in person)
- 30 minutes with Dr. Big himself — not a salesperson
- Assess your scar types, count, and depth
- Talk through expectations — straight about what’s achievable
- Review your skin’s baseline
- Answer every question, with no pressure to decide
Free — no charge whatsoever, even if you decide not to treat.
Step 2: Trica3D Scan + treatment plan
Trica3D Scan
- A 3D skin scan, detailed down to scar depth
- Records baseline data
- Used to compare results every time you return
- Takes ~5 minutes
Treatment plan
- The doctor selects procedures matched to your scar types
- Sets a rough number of sessions (generally 4–6)
- Spacing between sessions (4–8 weeks)
- Discusses the aftercare you do at home
- States a realistic, achievable goal
Step 3: Preparation
1 week before
- Stop retinol and AHA
- Avoid strong sun
- Avoid alcohol and blood thinners (check with your own doctor)
On the day
- No makeup
- No skincare since the morning
- Arrive 15 minutes early
At the clinic
- An extra cleanse
- Marking the scar positions
- Numbing cream (lidocaine) for 20–30 minutes
Step 4: The procedures on treatment day (35–45 minutes)
At Clarity we perform 5 procedures in one session — in this order:
1. Subcision (releasing fibrous bands) — 10 min
- A cannula is inserted under the skin
- Cuts the fibrous bands tethering the scar
- You feel “pressure,” not sharp pain
- Focused on rolling and box scars that have tethering
2. MNRF (Microneedle RF) — 10 min
- Tiny needles deliver radiofrequency
- 1–3.5 mm depth depending on the target layer
- Stimulates new collagen in the dermis
- Feels like small needle pricks
3. Ablative Fractional Laser (CO₂/Er:YAG) — 8 min
- Laser ablates the surface in tiny dots
- Refines surface texture and scar edges
- Feels warm, with a faint burnt scent
- Intensity adjusted to your skin
4. Non-Ablative Fractional Laser (NAFL) — 5 min
- Stimulates collagen in deeper layers without removing the skin surface
- Gentler, with less downtime — refines overall texture
- A good complement to the ablative laser for remodeling
5. Picolaser — 5 min
- Targets pigment at the base of the scar
- Reduces dark marks and evens out skin tone
- Feels like a rubber-band snap
Finish: Cooling + aftercare cream — 5 min
- A cold compress to reduce swelling
- Apply recovery cream
- Check the skin before you leave
Total time 35–45 minutes.
Step 5: Immediately after
First 0–2 hours
- Skin red and swollen
- Face feels tight and warm
- Use the cold compress
- Don’t drive — come with someone or take a Grab
Going home
- Apply aftercare cream
- Apply sunscreen right away
- Drink plenty of water
- No heavy exercise for 24 hours
Step 6: Days 1–7 after
Day 1–2
- Swelling and redness around 4–5/10
- Possibly slight bruising
- Apply aftercare cream every 3–4 hours
- No makeup
Day 3–4
- Swelling starts to settle
- Skin starts to peel slightly — don’t pick
- You can return to work (cover redness with light foundation)
Day 5–7
- Peeling done, new skin starts to show
- Skin is still thin and sensitive — avoid strong sun
- Start gentle skincare
Day 8–14
- Skin returns to normal
- Full skincare allowed (including vitamin C)
- Retinol can resume after 2 full weeks
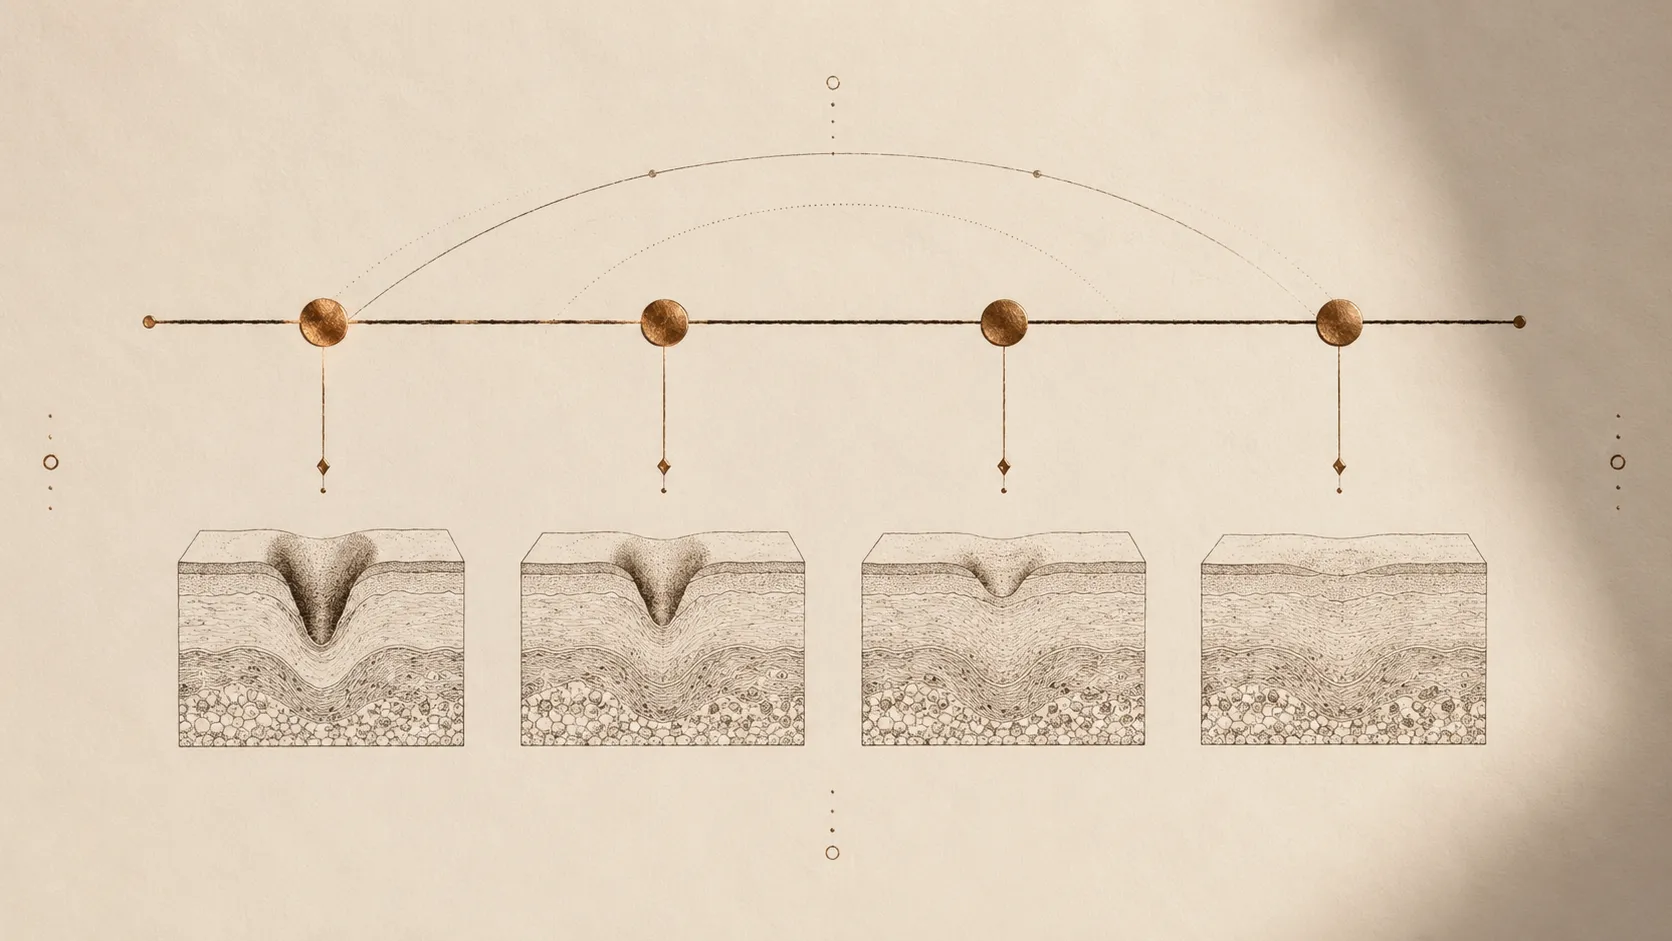
Step 7: 4–8 weeks — waiting for results
This is the most important period that many people don’t know about:
Week 2–4
- Scars may look the same — don’t lose heart yet
- Collagen biology is just starting to work
Week 4–6
- Subtle change becomes visible
- Scar edges start to soften
- Dark marks start to fade
Week 6–8
- The first session’s result is clear
- The right time to book session 2
Roughly 30–50% of the result comes from the first session — then another 10–20% with each session after. (See how much acne scars can improve.)
Step 8: Follow-up and repeat Trica3D Scan
Every time you return for a new session:
- Trica3D Scan compared to baseline
- Dr. Big reviews in person, assessing the change
- Adjust the plan if needed
- Perform the next session
So you see the change as real data, not just a feeling.
Step 9: Long-term result (6 months after the first session)
After 4–6 sessions
- Full result: 60–80% of the goal
- Scars clearly shallower
- Smoother skin texture
- Dark marks largely gone
- Overall healthier-looking skin
Ongoing care
- Sunscreen every day
- The skincare routine the doctor recommends
- Prevent new inflammatory acne
- Come back for a top-up 1–2 times a year if you want to maintain results
Frequently asked questions
Q: Do I have to do all of these steps? A: Yes — so you get a complete result across every layer.
Q: Can I do only some procedures? A: You can, but the result is smaller — at Clarity we focus on doing the full set for one price.
Q: Can I decline certain lasers? A: Yes — the doctor adjusts to suit your skin.
Q: Can I do other treatments between sessions? A: It depends — avoid “heavy ablative” devices, but normal skincare is fine.
Q: Are results permanent? A: Treated scars won’t “relapse” — but new inflammatory acne can create new scars elsewhere.
Q: How many days off do I need? A: Most people return to work the next day — redness lasts 3–5 days and is coverable with light foundation. (See does acne scar treatment hurt.)
Real cases from Clarity
At Clarity we have real cases to view in the Results section — each notes:
- Scar type
- Patient (age, sex)
- Number of sessions
- Techniques used
- The result
Every case is shown under the patient’s consent, with identity protected.
Price and payment
Price
- 5,000 baht per session — includes all procedures in the session
- Includes Trica3D Scan + follow-up
Payment
- Pay per session, no course lock-in
- Bank transfer or credit card
- No hidden costs
See the pricing section for full details.
Ready to start?
The steps:
- Message LINE with photos of your acne scars for Dr. Big to review first
- Book a free consult — 30 minutes in Ratchathewi
- If you decide to treat — you can start right away (most people treat on the same day as the consult)
Contact:
- LINE: @clarityclinic
- Location: Spring Tower, B Floor · Ratchathewi, near BTS
Want Dr. Big to review your case first?
- Free 30-minute consult
- See real cases at Results
- Read reviews from real patients here
Read next:
- Free acne scar consultation — send a photo on LINE first
- Does acne scar treatment hurt
- How long does acne scar treatment take
- When is the best time to treat acne scars
- Subcision — how many sessions to see results
- How much does one session improve acne scars
References
Outcomes vary by individual; this article is educational, not a substitute for in-person medical assessment.